Printer Calibration Models for Fusion 360

Complete either the quick General Test with a max score of 5 points. Or complete all 8 prints with a max score of 35 points.

General Test (5 points)

This test can be used on its own to quickly asses basic issues. It can also be run as part of the other 7 print assessment.

Inspect the Cube. Using precision calipers, measure the X, Y and Z dimensions. Look for ringing or banding along side faces. Lastly Inspect top, bottom and letter unside surfaces.

Starting with a perfect score of 5.
Deduct "1" point if any X, Y or Z measurement is off by .5 mm from the 15mm nominal cube size. This applies to under or oversized dimensions.
Deduct "1" point if there is visible ringing on any side face.
Deduct "1" point if there are gaps or blobs on the top surface
Deduct "1" point if the bottom surface has gaps or imperfections.
Deduct "1" point if the bottom surface of embossed text has drooping layers or stringing.
If there are any three or more issues record a "0".

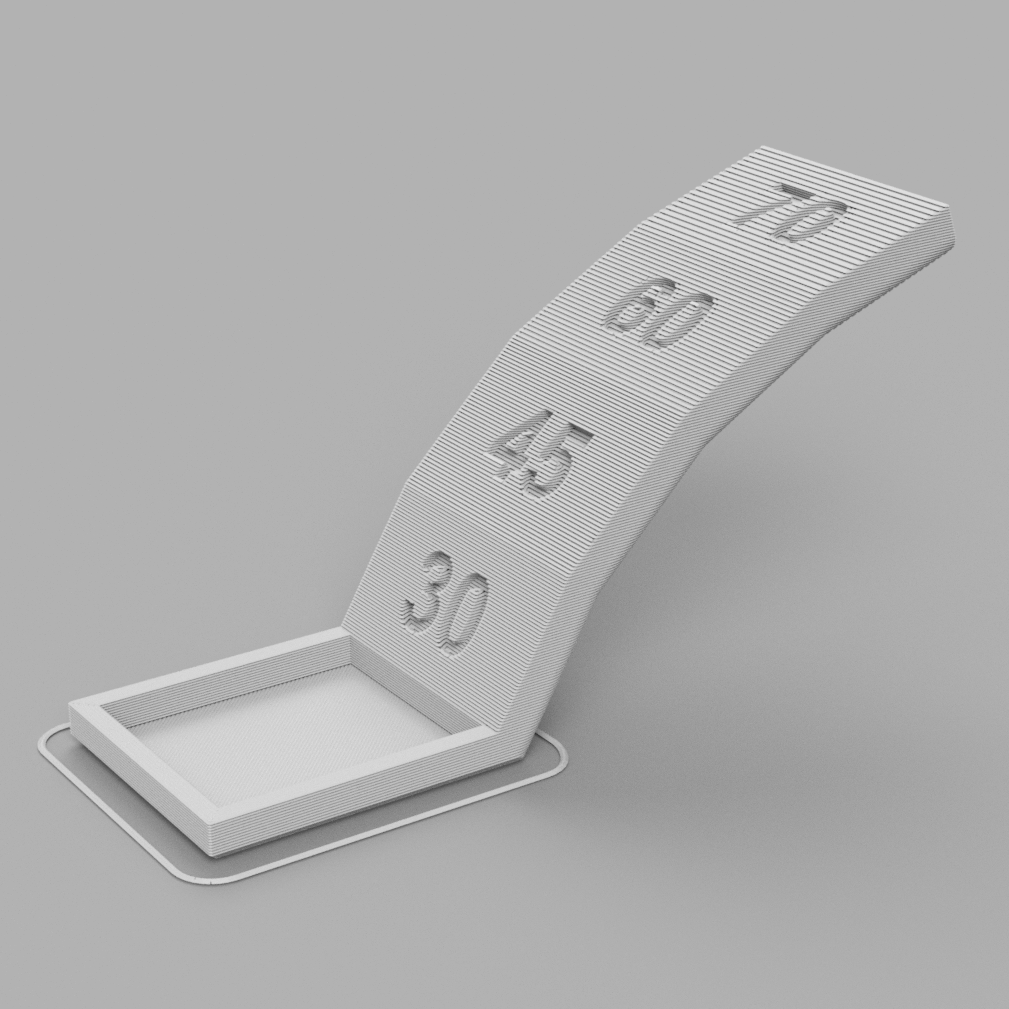
Overhang Test (5 Points)

Inspect the underside surfaces of the overhang sections. A good surface will be free of visual differences with the top surface of the same section.

Record a "1" if the printer completed geometry but had visible imperfections on the 30 degree section.
Record a “2” if the printer completed the geometry but dropped loops and infill on the 70, 60, and 45 degree overhangs.
Record a “3” if only the 70 and 60 degree surfaces differ from the 45 degree overhang.
Record a "4" if only the 70 degree overhang differs from the 30 degree overhang.
Record a "5" if there the surface finish between all four overhang surfaces is equivalent.

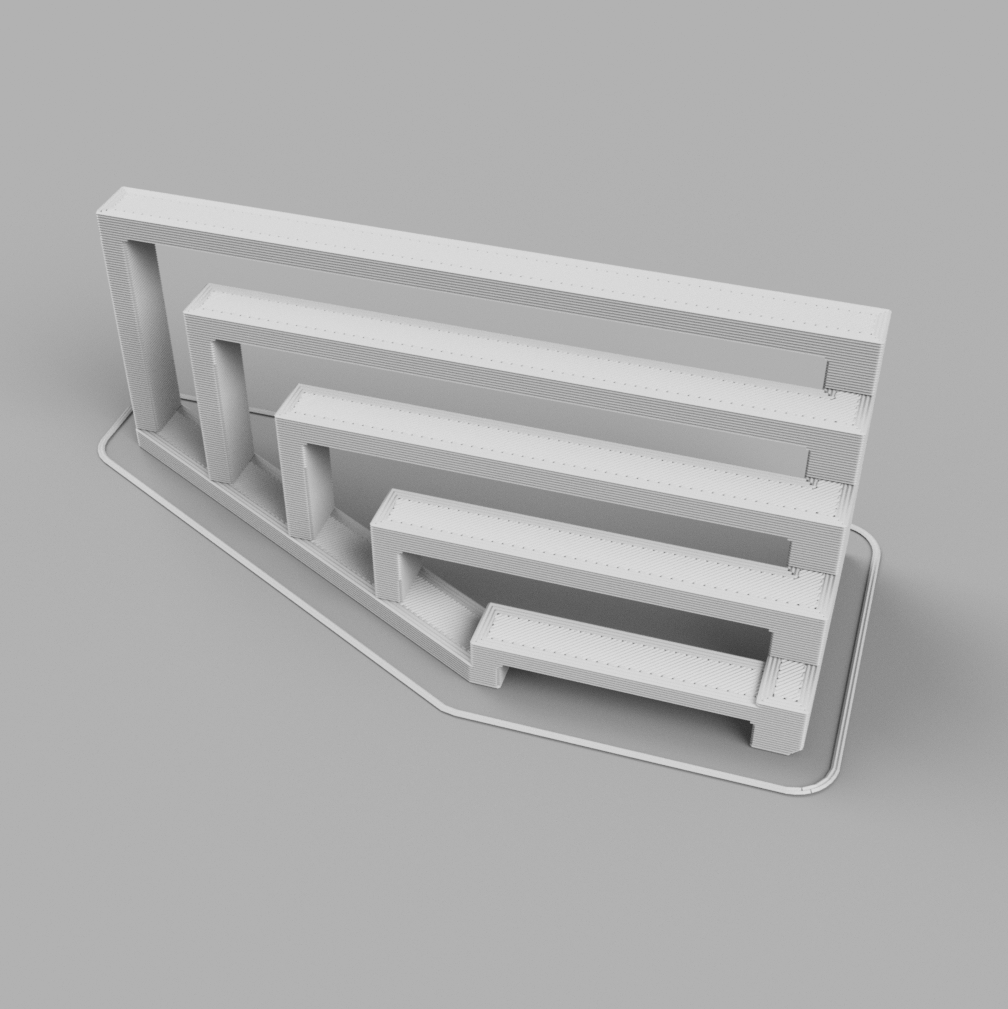
Bridging Test (5 Points)

Inspect the underside surfaces of the bridge sections. A good surface will be free of visual differences with the top surface of the same section.

Record a "1" if more than 3 sections have visible drooping strands.
Record a "2" if 3 have visible drooping strands.
Record a "3" if 2 have visible drooping strands.
Record a "4" if 1 have visible drooping strands.
Record a "5" if no bridge sections have visible drooping strands.

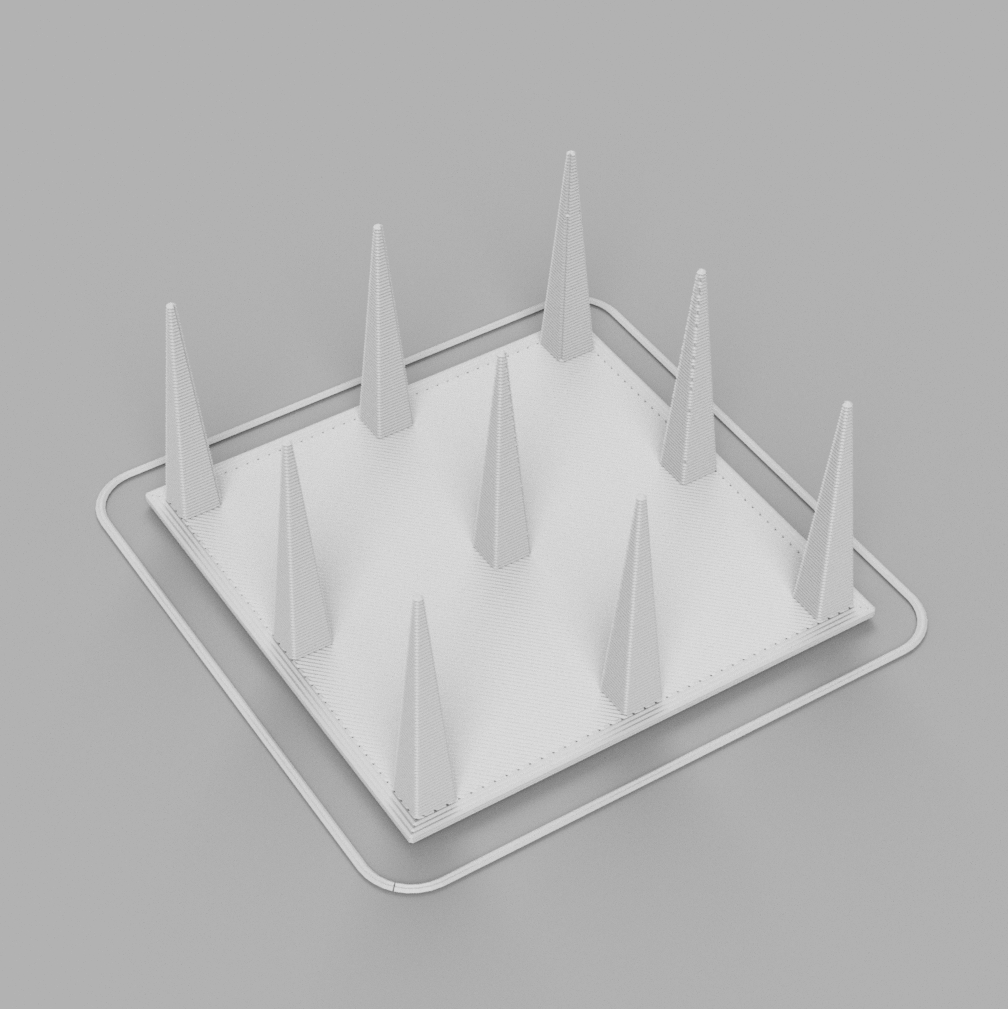
Fine Details Test (5 Points)

Measure the shortest spire.

If the spires are less than 30mm long, record a "0".
If the spires are greater than 30mm, but there is stringing between them, record a "2.5".
If the spires are greater than 30mm long and there is no stringing between them, assign a "5".

Dimensional Accuracy Test (5 Points)

Print 15mm Cube. To assess dimensional accuracy, measure each tier of the dimensional accuracy stack and record the absolute different between the target and the measured dimensions in a table like so:
Target Measured X Measured Y X Error Y Error
25 24.82 24.69 0.18 0.31
20 19.93 19.75 0.07 0.25
15 14.99 14.82 0.01 0.18
10 10.01 9.85 0.01 0.15
5 4.84 4.84 0.16 0.16
Avg Err: 0.082 0.21
Average of avg. X and avg. Y error 0.146
Difference between avg. X and avg. Y error 0.128

Record a "1" if the magnitude of the overall average error is greater than 0.40mm.
Record a "2" if the magnitude of the overall average error is between 0.31 and 0.40mm.
Record a "3" if the magnitude of the overall average error is between 0.21 and 0.30mm.
Record a "4" if the magnitude of the overall average error is 0.11 and 0.20mm.
Record a "5" if the magnitude of the overall average error is between 0.0 and 0.10mm.

While it is not explicitly scored in this evaluation, this test also reveals the presence of backlash (or incorrectly calibrated motion systems) when the average X and average Y errors are compared. A significant difference between the two values indicates a problem.

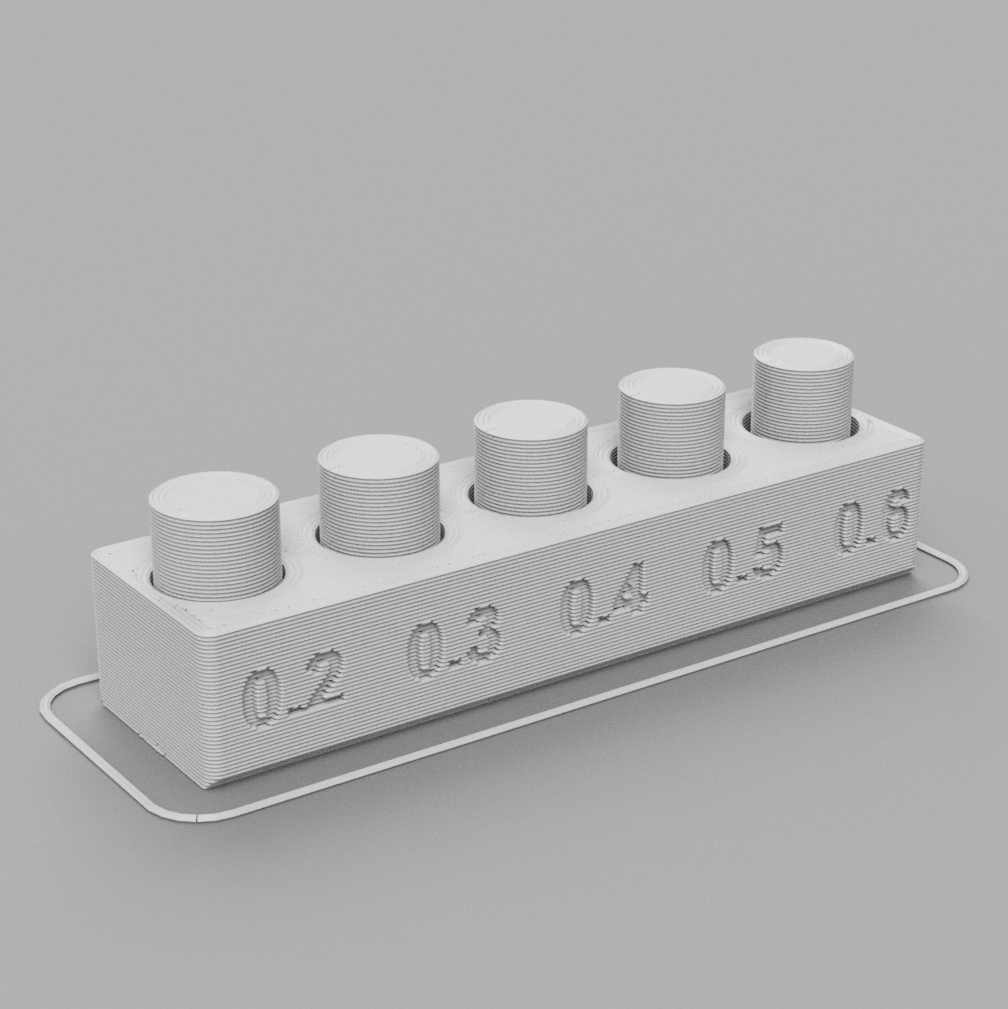
Negative Space Test (5 Points)

Attempt to remove all the pins from their holes using fingers (no tools). The example above would score 2.

Record a "0" if no pins can be removed.
Record a "1" if 1 pin can be removed.
Record a "2" if 2 pins can be removed.
Record a "3" if 3 pins can be removed.
Record a "4" if 4 pins can be removed.
Record a "5" if all pins can be removed.

X Y Resonance Test (2.5 Points)

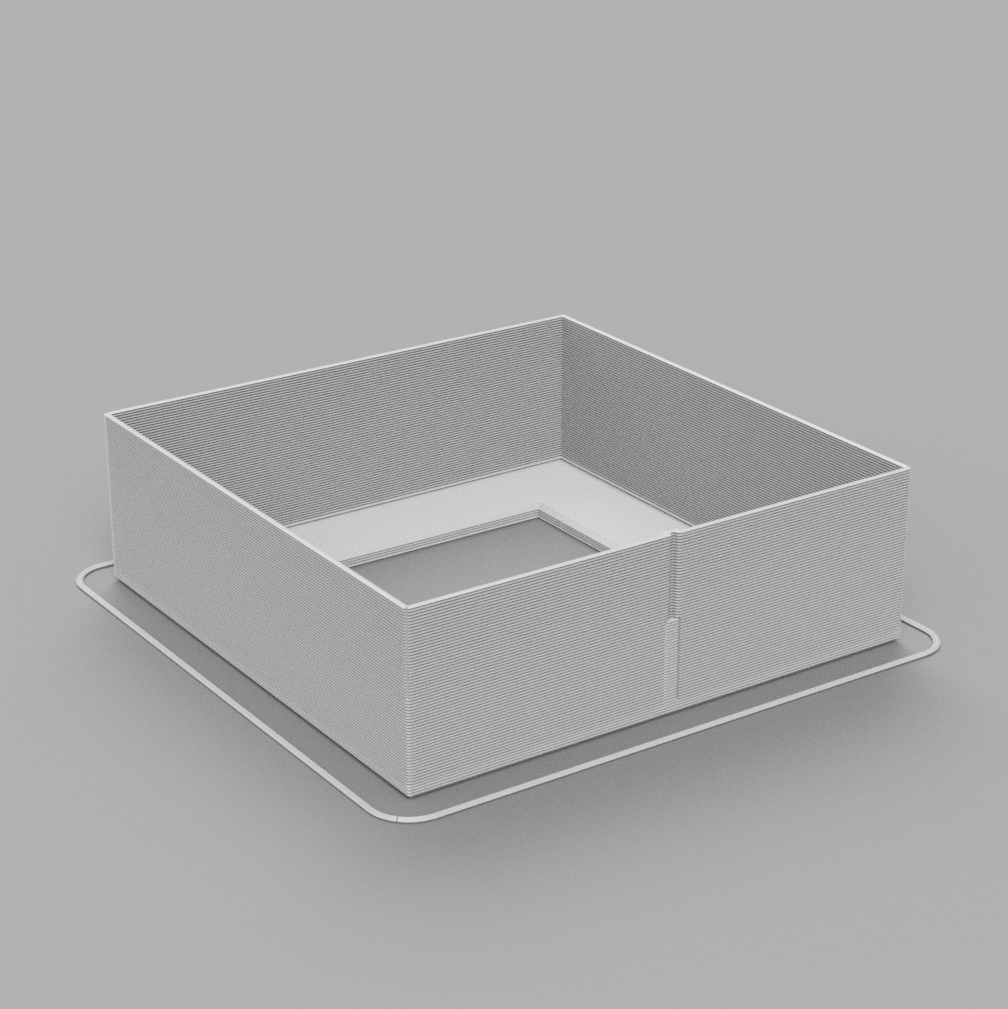
Visually inspect the X and Y ringing features, illuminating the test print from the side to highlight any ringing captured in the print.

If rippling in the X or Y axis can be observed at corners or along the wall with the gap, record a "0">, otherwise, record a "2.5".

Z Resonance Test (2.5 Points)

If a visible band or bump with a period equal to that of the leadscrew is visible on the pillar, record "0", otherwise, record "2.5".